Creating an Annotation Job
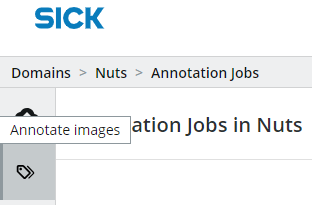
Now we want to annotate the other images. Click on the Annotation tag icon in the sidepanel.
There are two kinds of annotation jobs: Detail jobs, where only one image at a time is displayed and Grid jobs, where 15 images are displayed at the same time. First we will have a look at the detail job.
Annotation jobs
An annotation job holds a set of data items that are to be annotated. For every annotation job the user specifies the variables that are to be annotated. Annotation jobs are meant to be a tool for prioritizing the work of different annotators or different annotations. If you need only a few annotation variables annotated right now and you need them quickly you don't need to let doing all possible annotations slow you down. You can drag and drop the annotation jobs to change their order and make it easier to show the most important ones on the top.
Detail Annotation Job
Click on "Detail Job".

Name the annotation job "Waldkirch Images Classification" and filter for images only from Waldkirch. You can prefilter using annotations if only a subset of the data should be annotated. This is especially helpful if the dataset is very big.
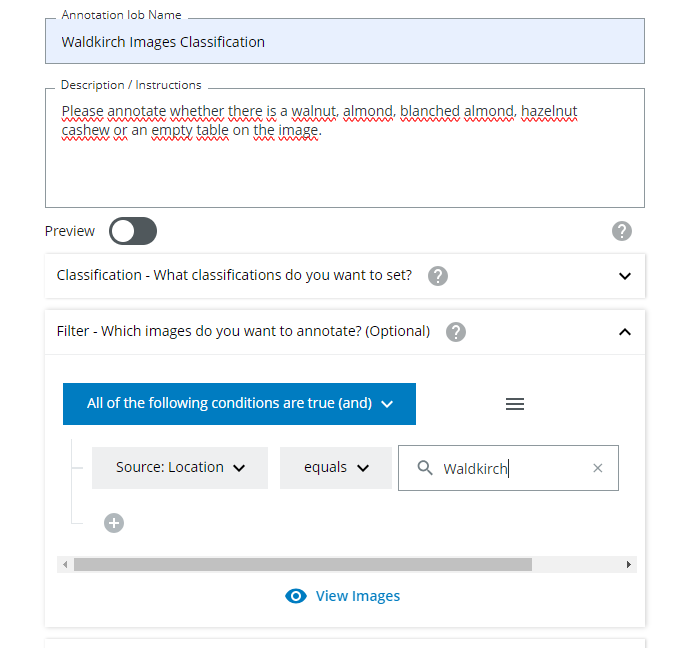 You can also add some instructions for the person who will do the annotation job.
You can also use markdown to create nice instructions.
Creating Annotation Job Instructions
You can use markdown to create instructions. If you click on the help icon next to the preview toggle button you will find some common markdown rules, like creating headers or lists.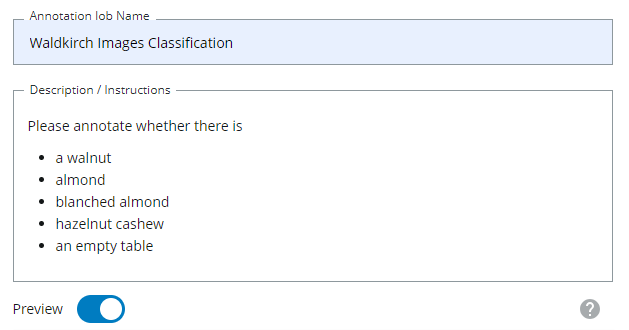
You can shuffle the images in an annotationjob, so they appear in random order to an annotator. This makes sense if you want to get a big variety of data and the collected data is ordered in some way.

Choosing what to annotate
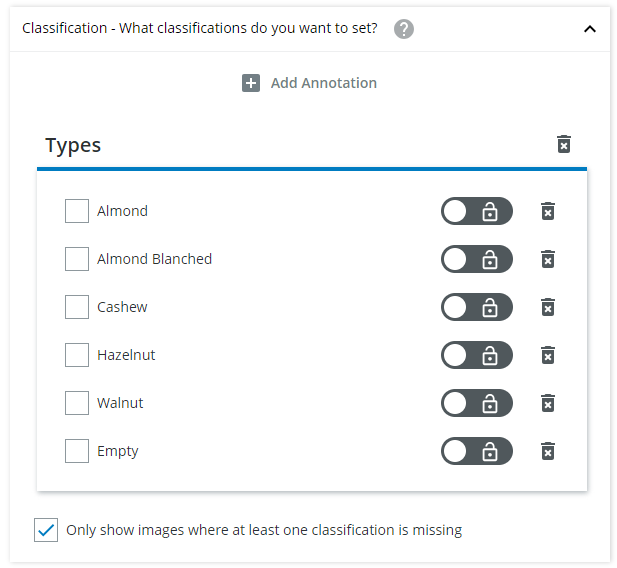
Select the classification annotation variables you want to set in the annotation job. We want to annotate the types of the nuts on the image, but nothing else, since the source has already been set upon import.
You can add the "Source" group and set it to read only. This will display the source annotation, but you cannot (accidentally) change the annotations.
Read Only Classification Annotation
Read only annotations are especially helpful when you want to display further information about an image which might help with deciding on annotations. But this information may not be changed.
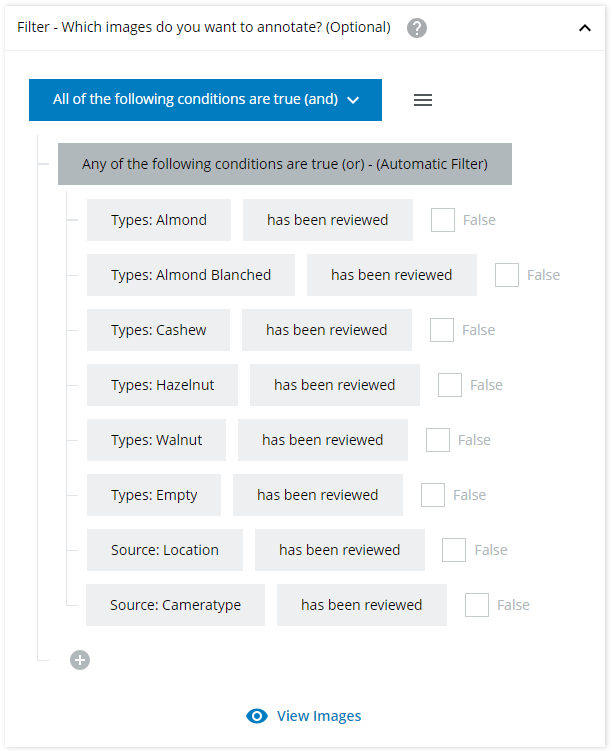
The "Only show images where at least one classification is missing" checkbox remains checked, because this prevents the annotator from seeing images that have already been completely annotated. You can also see, that in the Filter area an automatic filter for this has been added.
After saving the annotation job you are being redirected to the annotation job list.
Adding Classification Annotations
Only add annotations that you want to see in the annotation job. You can also set a default value, if you already know which is the most common case. If the "Only show images where at least one classification is missing" checkbox is checked no completely finished items will be displayed anymore. This results in the automatic filter you can see in the Filter dropdown. The data is additionally filtered for any item that has not yet been reviewed.Grid Annotations Job
Create a new annotation job and choose "Grid job". Call it "Nut Grid Job". In a grid job you will see 15 images at once and you can mark each of them separately which sets the annotations when saving.
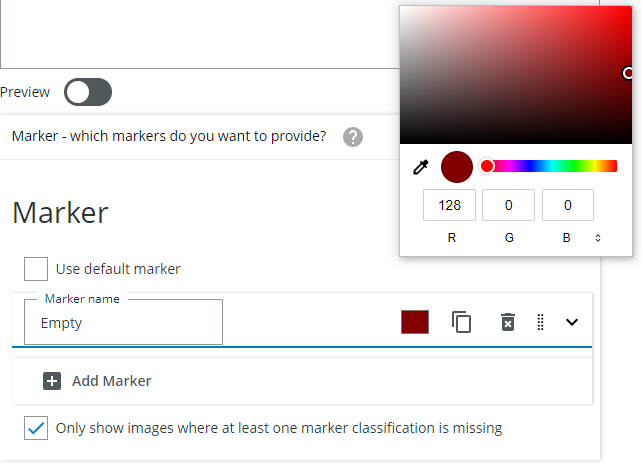
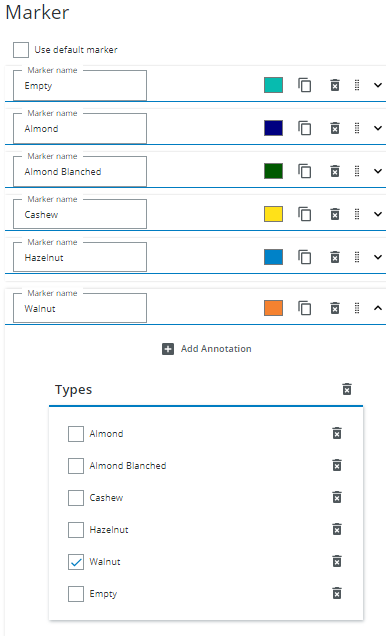
Click on Markers and on "Add marker. Every marker will set all the annotations that are provided per image. Add a marker for every type, even "Empty" .
Save the annotation job.
When to choose a grid job
You should only choose a grid job if all of the following apply:- the classes of the images are very easily distinguishable at a glance.
- there are only mutually exclusive variables to be set per image.
- there is no need to zoom into the images or load their full resolution.
When not to choose a grid job
Do not use the grid annotation job, if you- would need too many markers to make it work
- think you would need to mark an image with two different markers
- you cannot clearly see what is on the image in the grid
Changing the order of markers
You can drag and drop markers to change their order, when grabbing it on the grab area.
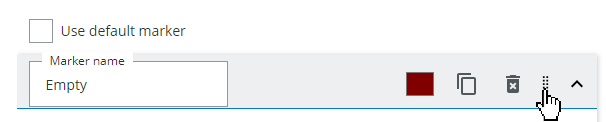
Changing the color of markers
You can click on the color square and choose a color that suits your purposes best.