Annotating images
ℹ️ Note: The annotation process for instance segmentation is the same as for object detection.
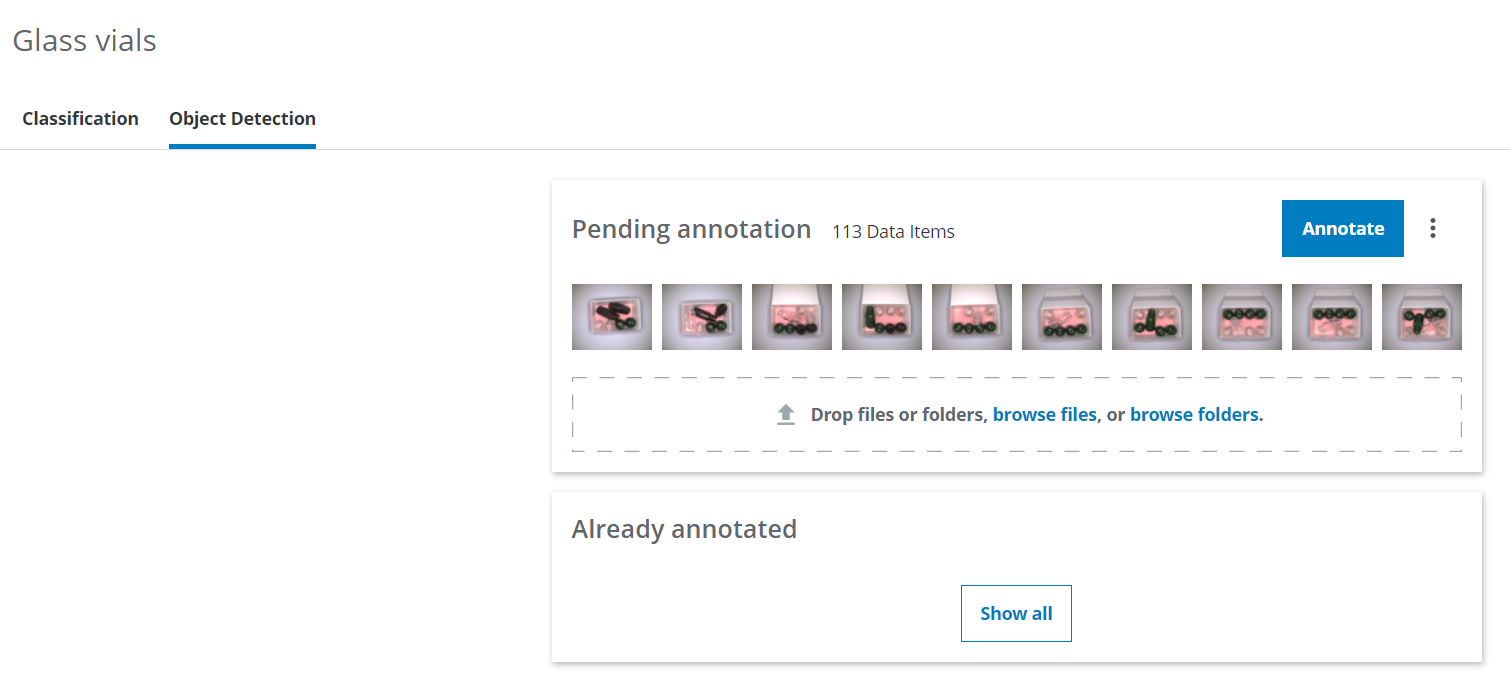
Press the Annotate button in the Pending annotation section. This will take you to the Annotation view in dTag.
I want to filter which images are included in the Annotation Job
You can set up filters and other options by creating an Annotation Job in dTag. On the right, click on the three dots symbol and click Manage domain. Then click on Annotate on the left. Then follow the instructions on how to create an Annotation Job in the dTag tutorial section.

To solve the application we want the network to learn the position of glass vials in an image. In order for the network to learn where the objects are, we need to give it examples images containing different kinds of glass vials and show where in the image the different objects are located. This means we have to annotate images, meaning we have to draw a polygon or bounding box around the objects. We can do this in two different ways:
- Automatic annotation using the Assisted Object Annotation Tool.
- Manual annotation - clicking in the picture.
Option 1 is recommended since it is typically faster than a manual annotation. For the cases where the Assisted Object Annotation tool struggles, you might need to use the manual approach. You can switch between the two approaches on the fly.
Approach 1: Automatic annotation using the Assisted Object Annotation tool
Rather than having to manually click all the points of a polygon to make an annotation, it is recommended to use the Assisted Object Annotation tool.
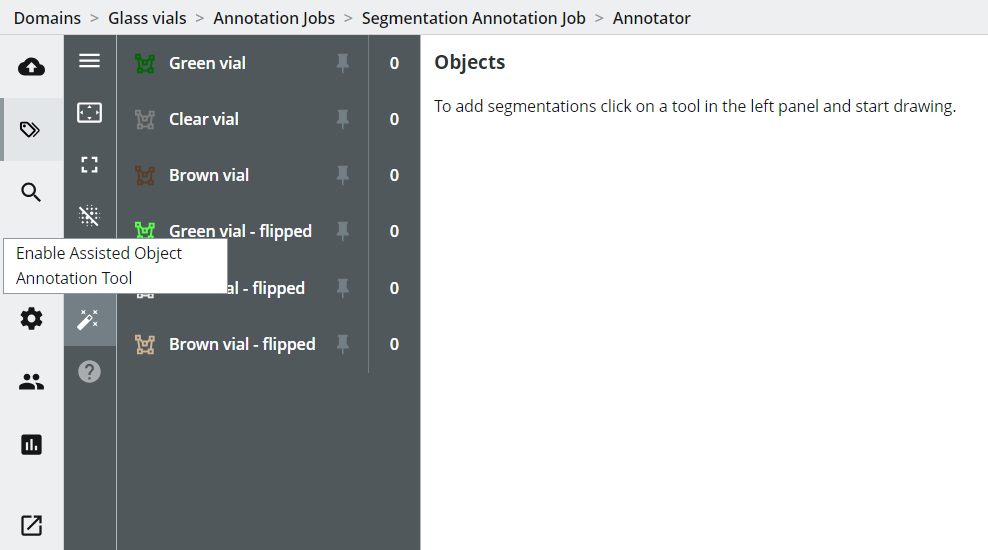
- Enable the Assisted Object Annotation Tool (wand icon). Note that it might take a few moments to load, but only for the first image.
-
Select the object class you want to annotate.
-
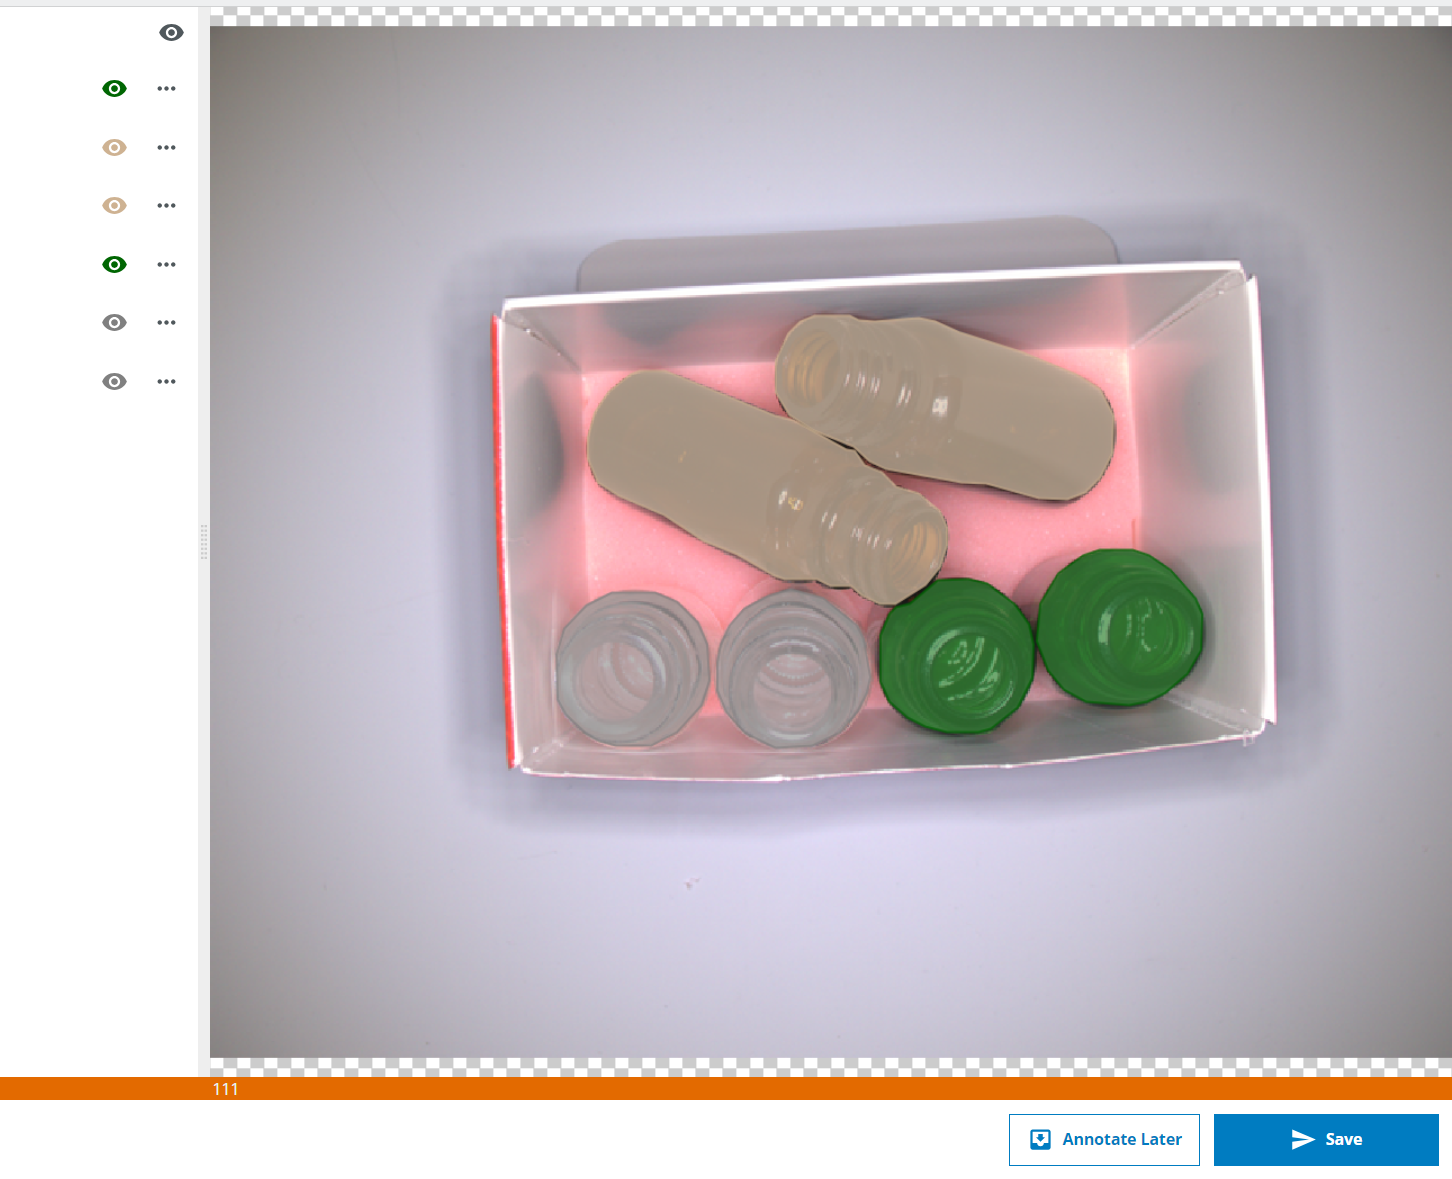
Click on the object in the image to create a prompt (blue dot). A mask (blue overlay) will be suggested. Add more prompts if the object is not masked fully.
-
In case the proposed mask covers more than the object, click with the right mouse button to add a negative prompt (red dot) on that area to indicates that this part of the mask is not part of the object.
-
Press the Spacebar to accept the mask. This will transform the mask into a polygon. You can edit this polygon if you wish to make any adjustment, but you need to untoggle the wand icon (shift+a) to add or move polygon points.
-
If the mask is split into multiple parts press Shift + Spacebar to create a shape consisting of all of these parts. Press only Spacebar to use the largest part for the shape. You can change the hotkeys for accepting the mask in the top left menu of the annotation job from Spacebar / Shift + Spacebar to something else.
-
Select an already existing segmentation object and press Shift + Spacebar on a new mask to append the new mask as a polygon to the existing segmentation object. Make sure only the new part of the object is masked when doing this.
-
Click the eye icon next to the class to hide all objects of this class.

Keymaps
- Shift+a: Activate Assisted Object Annotation Tool.
- Left mouse button: Positive prompt.
- Right mouse button: Negative prompt.
- Ctrl+Left mouse button on a prompt point: delete prompt.
- Esc key: delete all prompts/clear mask.
- Spacebar: Accept Mask and generate a polygon.
- Select an already existing segmentation object and Shift + Spacebar: appends the new mask as a polygon to the existing segmentation object.
- h: show/hide all objects
Use this approach to annotate the vials in the image. Once you have annotated all of the vials, press the blue Save button.
Proceed to the More on how to make annotations section.
Approach 2: Manual annotation - clicking in the picture
To start, click the appropriate class in the left panel and start clicking on the image to create the shape. Click on the first point to close the shape.
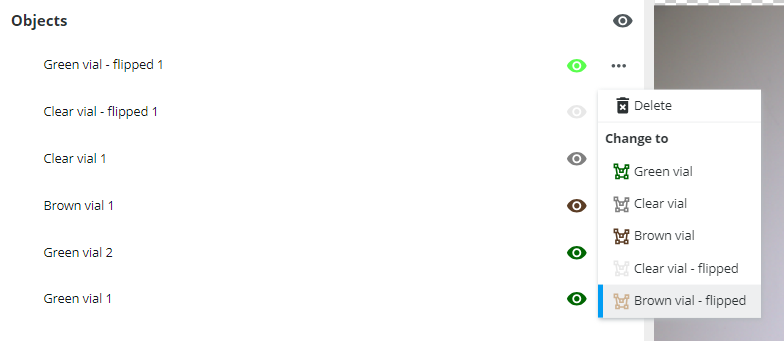
Continue this proceedure for the other glass vials in the image. Remember to pick the right class on the left hand side before making the annotation. If you need to change class of an annotation, you can do so by pressing the three dots next to the annotation and choose another class.
One object can also consist of multiple shapes, in case a part of the object is partly obstructed or hidden. Add a second shape to one object by selecting the object and alt+click anywhere on the image to append the shape to the existing object.
After you have labelled all vials in the image, save the image by pressing the blue Save button.
Proceed to the More on how to make annotations section.
More on how to make annotations
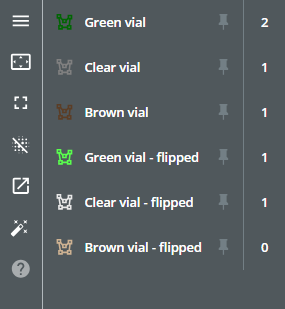
Instances
If an image contains multiple objects, it is said to have multiple instances. For example, if there are two green vials we can also say that there are two instances of green vials in the image. The number of instances per class is displayed next to the class name on the left.
Order of annotation shapes
It is very important to maintain the order of the segmentations in the image. The order in the object list is the order of the segmentation paths in the image. The shape in the background needs to be the shape on the bottom of the object list.
To change the order, select an object in the objects list and drag it to the correct position in the list.
Navigation and shortcuts
You can get details for how to navigate the image, edit segmentations, use the Assisted Object Annotated tool and different shortcuts by pressing the question mark icon on the left.
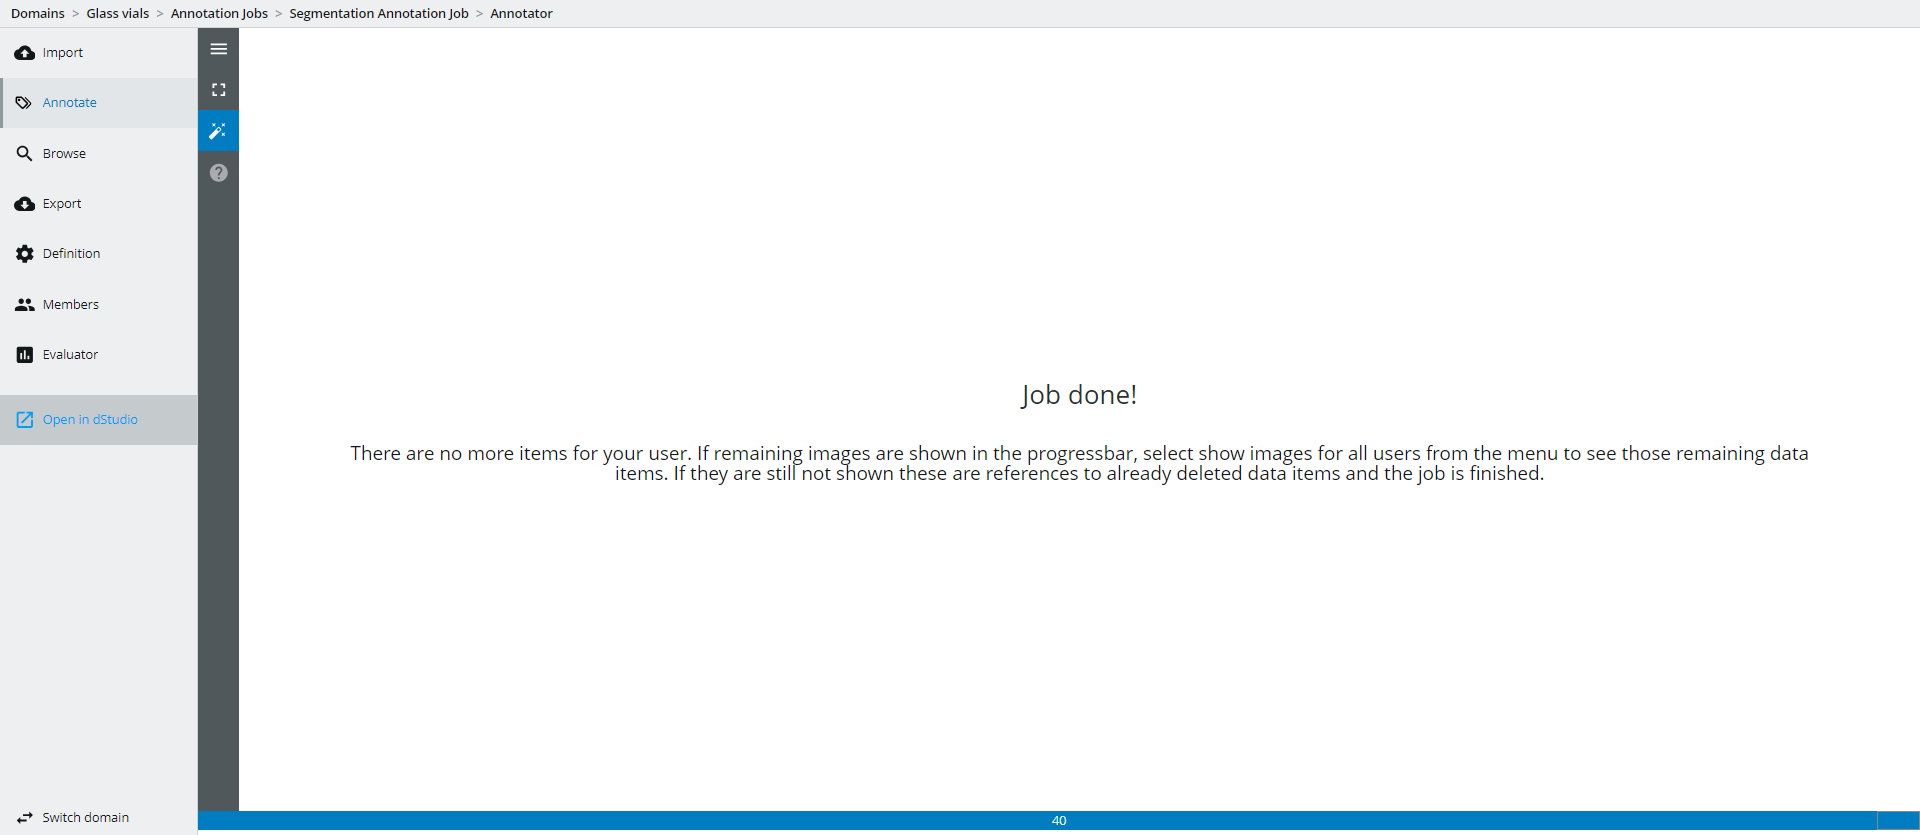
Annotate the rest of the images
Annotate the rest of the images in the dataset. Once the annotations are finished, press the Open in dStudio button and select the Object Finding tab.
Reviewing annotations
Learn more about how to set up an Annotation Job for reviewing annotations in the Review Jobs section.